
Learn how to cycle a saltwater aquarium properly to ensure a healthy environment for your fish and corals. Discover essential equipment, step-by-step instructions, and top-rated products available on Amazon.
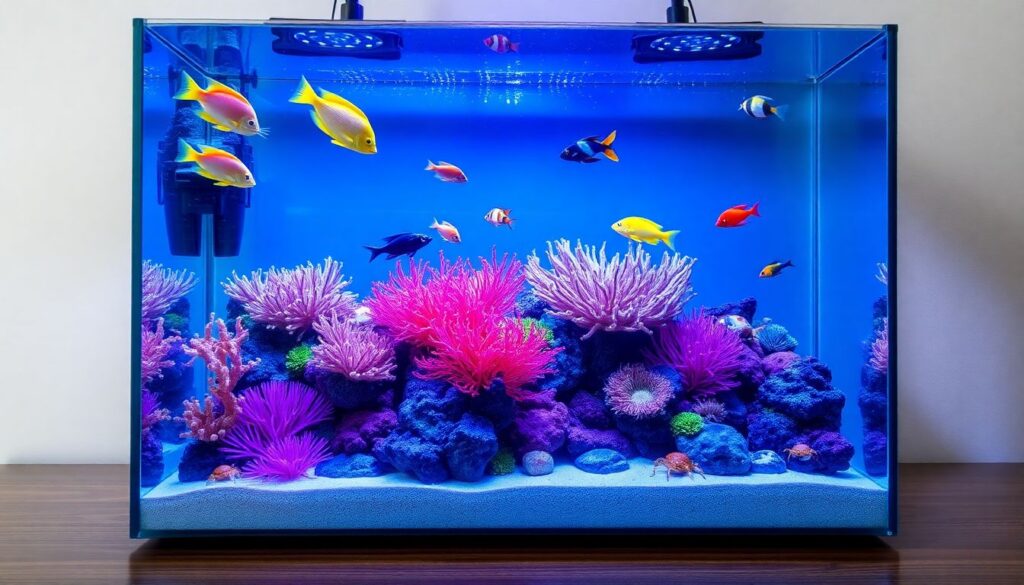
Cycling a saltwater aquarium is a critical step in creating a stable and thriving ecosystem for your fish and corals. Without proper cycling, ammonia and nitrite levels can spike, leading to toxic conditions. Whether you’re setting up a reef tank or a fish-only aquarium, following the right cycling process will ensure long-term success. In this guide, we’ll walk you through the process, recommend top-rated products available on Amazon, and provide expert tips for a smooth experience.
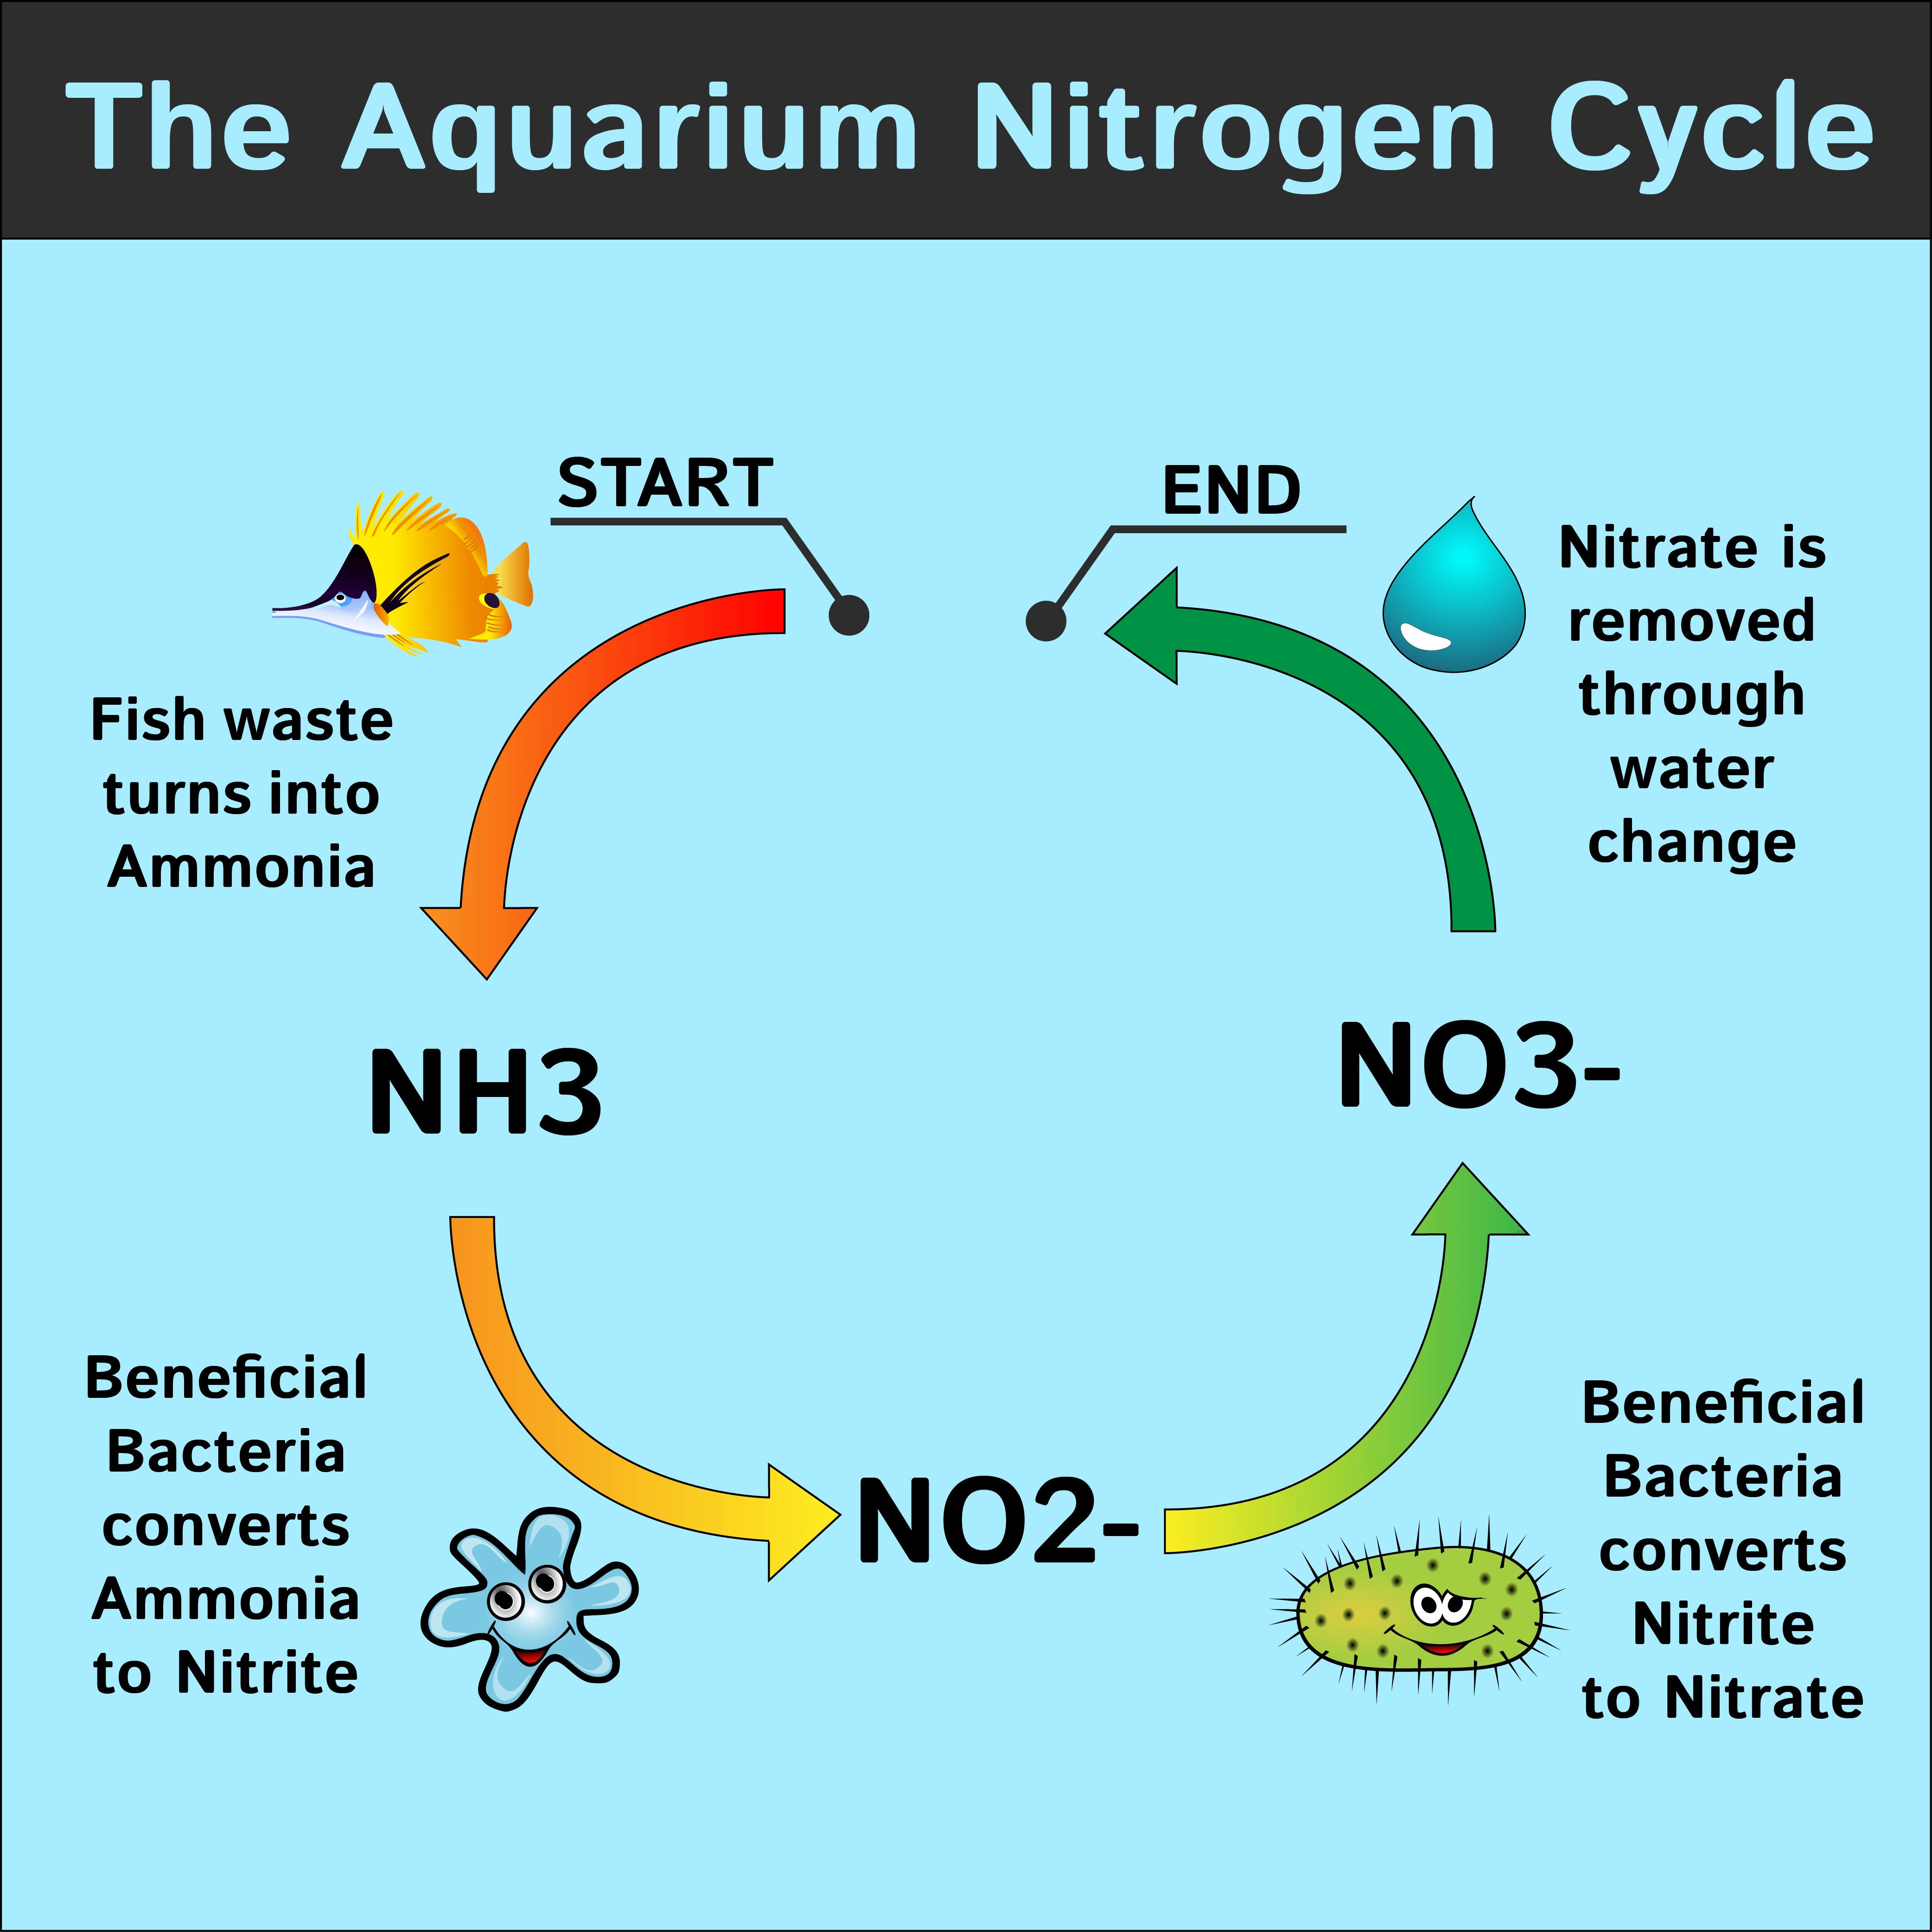
What Is Cycling and Why Does It Matter?
Cycling an aquarium refers to establishing beneficial bacteria that convert harmful waste into less toxic substances. This process, known as the nitrogen cycle, breaks down ammonia into nitrite and then into nitrate, which is safer for marine life.
Without a cycled tank, fish and corals can experience stress, disease, or even death due to toxic water conditions. By properly cycling your tank, you ensure a safe and stable home for your aquatic pets.
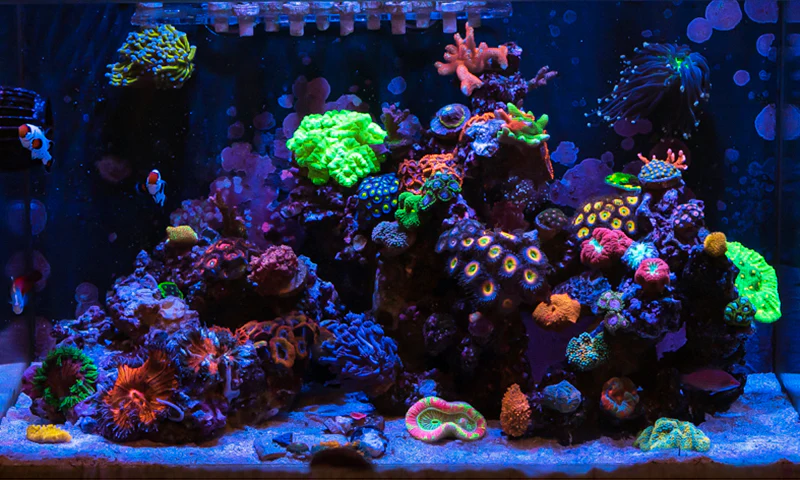
Cycle your saltwater aquarium. Step 1: A new reefer’s guide to ammonia …
Step 1: Gather Your Essential Equipment
Before starting, make sure you have everything you need. Here’s a checklist of must-have items:
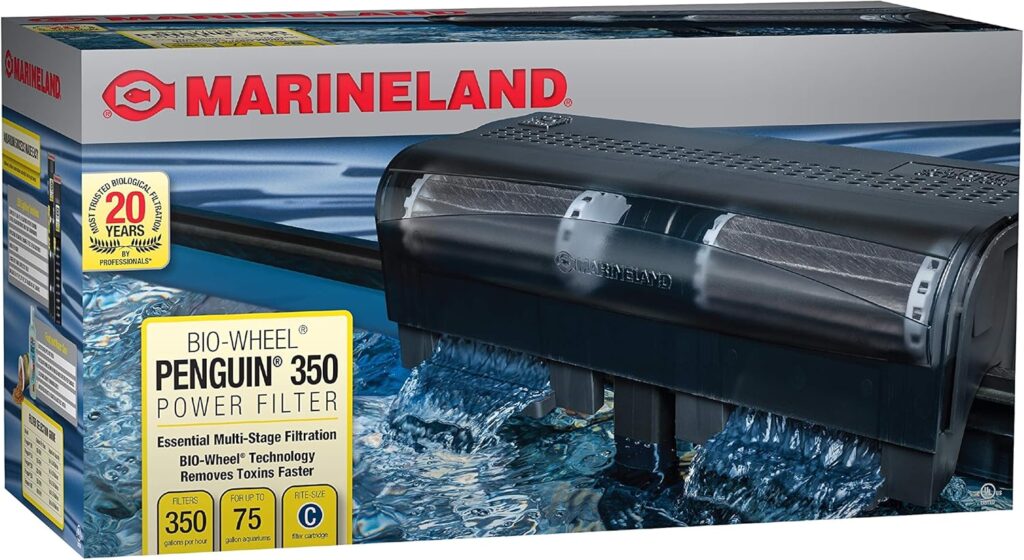
- Aquarium Filter: Promotes water circulation and houses beneficial bacteria. Economy Pick: MarineLand Penguin Bio-Wheel Power Filter—Known for its quiet operation and effective biological filtration.
Marineland Penguin Filter Unboxing and Review
Personal favorite: Fluval 307—for aquariums under 70 gallons.
Fluval 407 Canister Filter – Proper Media Set Up
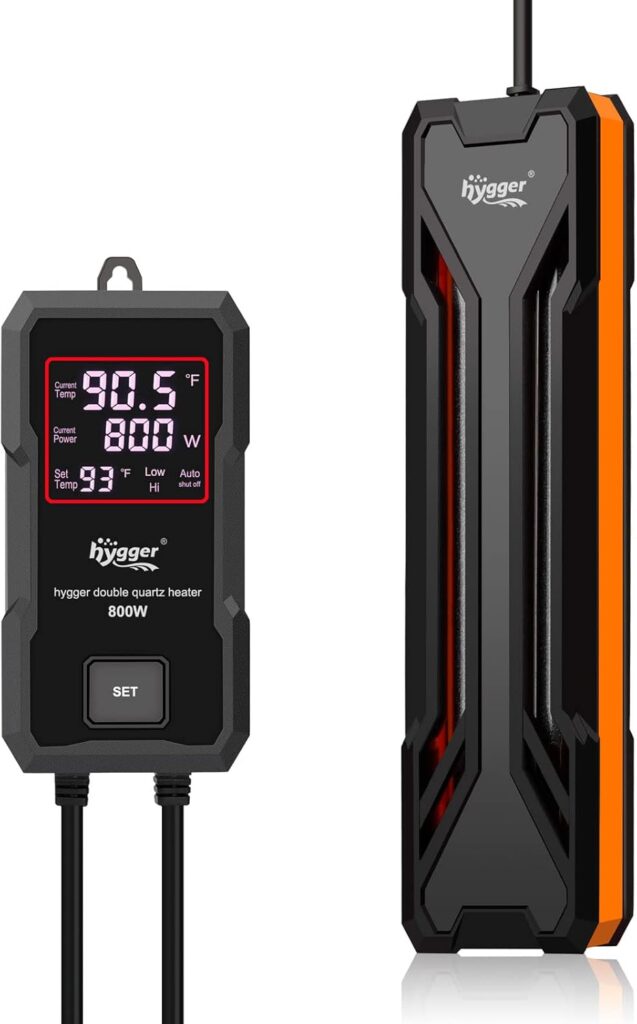
- Heater: Maintains a stable temperature, essential for marine life.
Recommended: Hygger Submersible Aquarium Heater—highly rated for its accuracy and durability.
Hygger Double Quartz Heater HGG043 300w Review
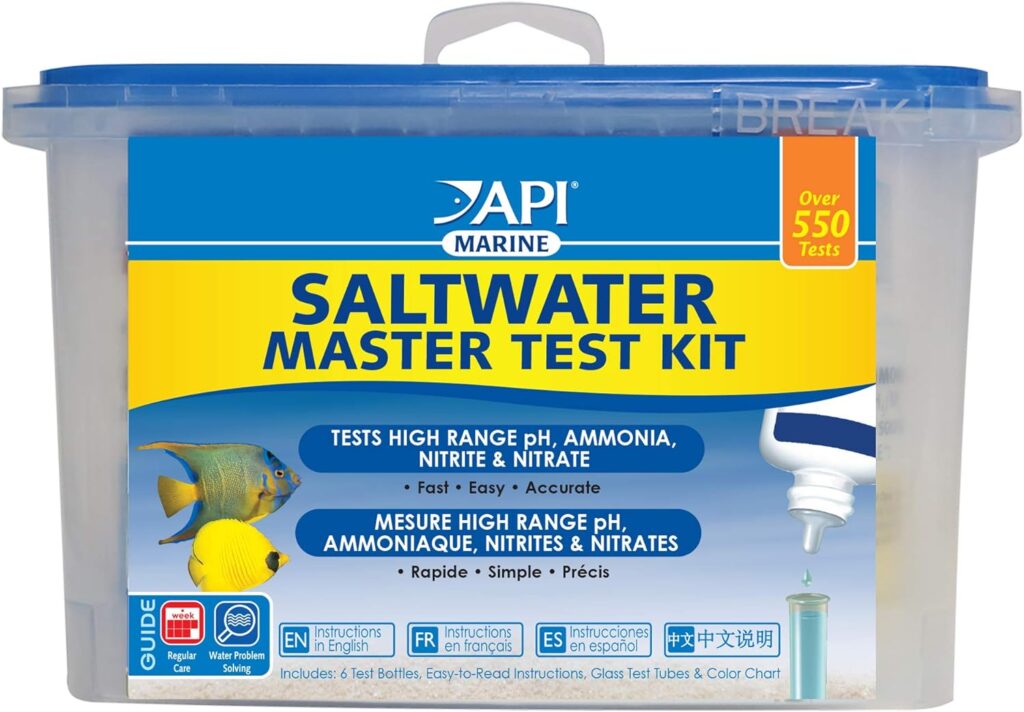
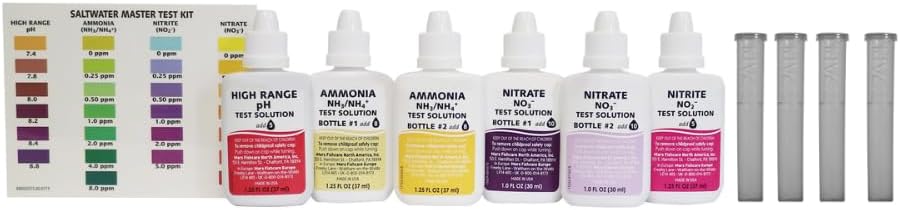
- Water Test Kits: Essential for monitoring ammonia, nitrite, nitrate, and pH. Must-Have: API Saltwater Master Test Kit A comprehensive kit for accurate testing.

How to test your saltwater aquarium with API Saltwater Master Test Kit
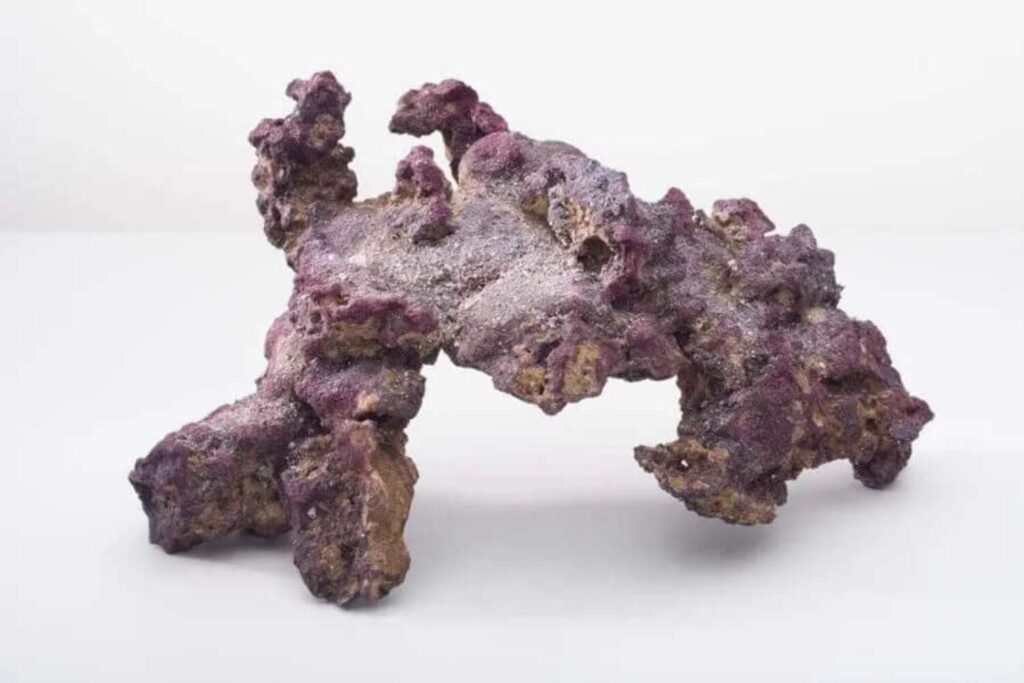
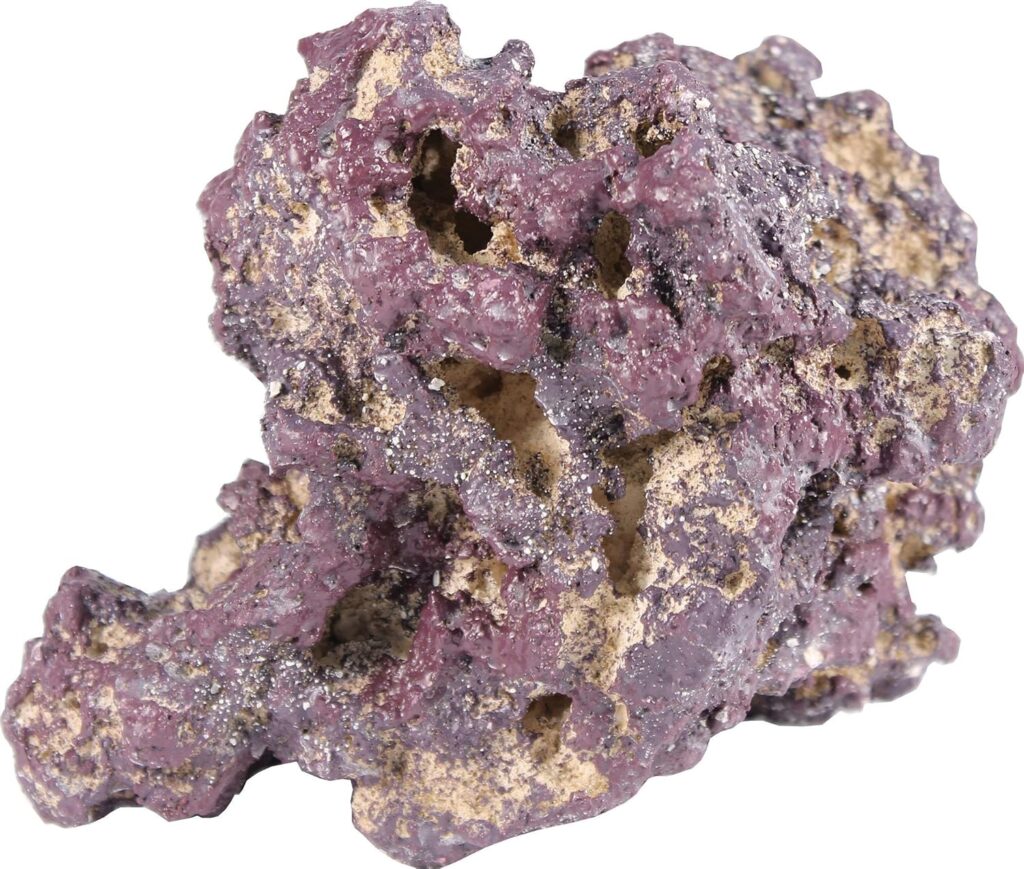
- Live Rock or Bio-Media provides surface area for beneficial bacteria to colonize. Customer Favorite: CaribSea LifeRock – pre-seeded with beneficial bacteria for a faster cycle.
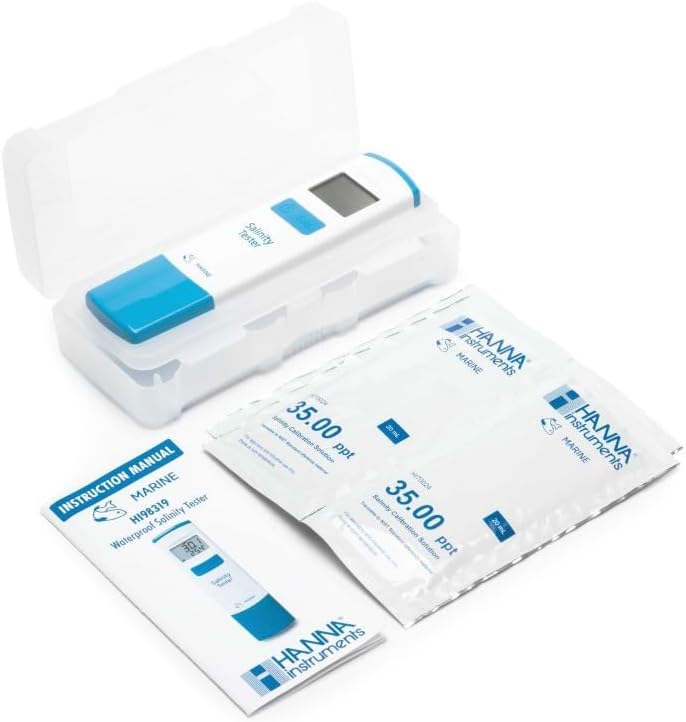
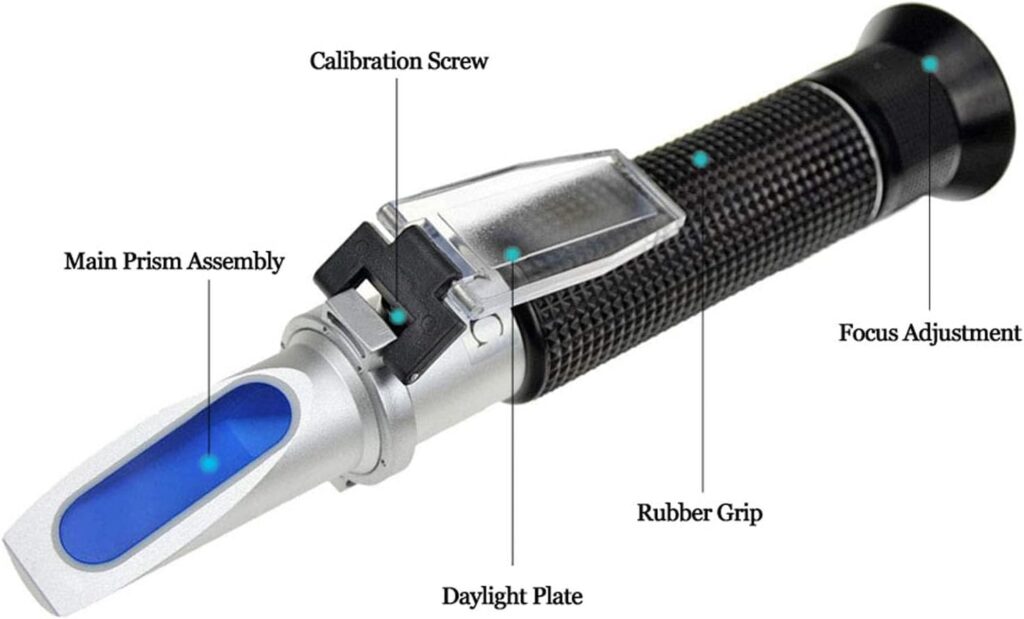
- Salt Mix & Refractometer—Ensures proper salinity levels. Popular Choice: Instant Ocean Sea Salt
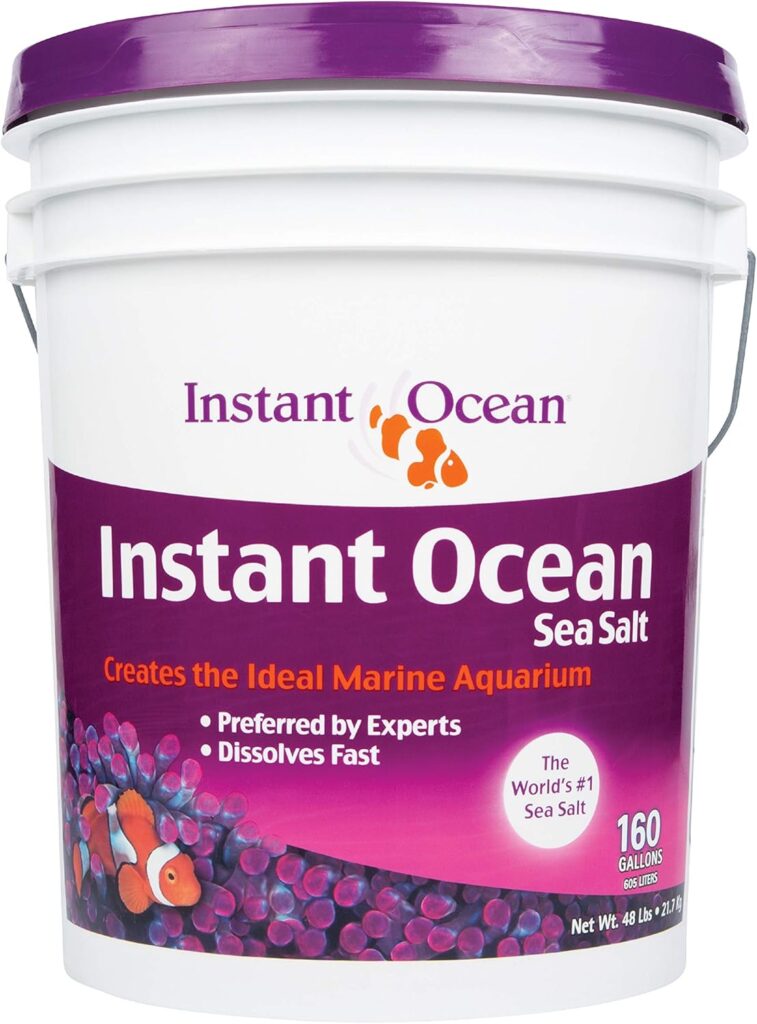
Instant Ocean Saltwater Mix Review
Highly Rated: Hanna Instruments Salinity Tester – Provides accurate digital salinity readings.
Step 2: Setting Up Your Aquarium
Prepare the Tank
- Rinse the tank with freshwater (avoid soap or chemicals).
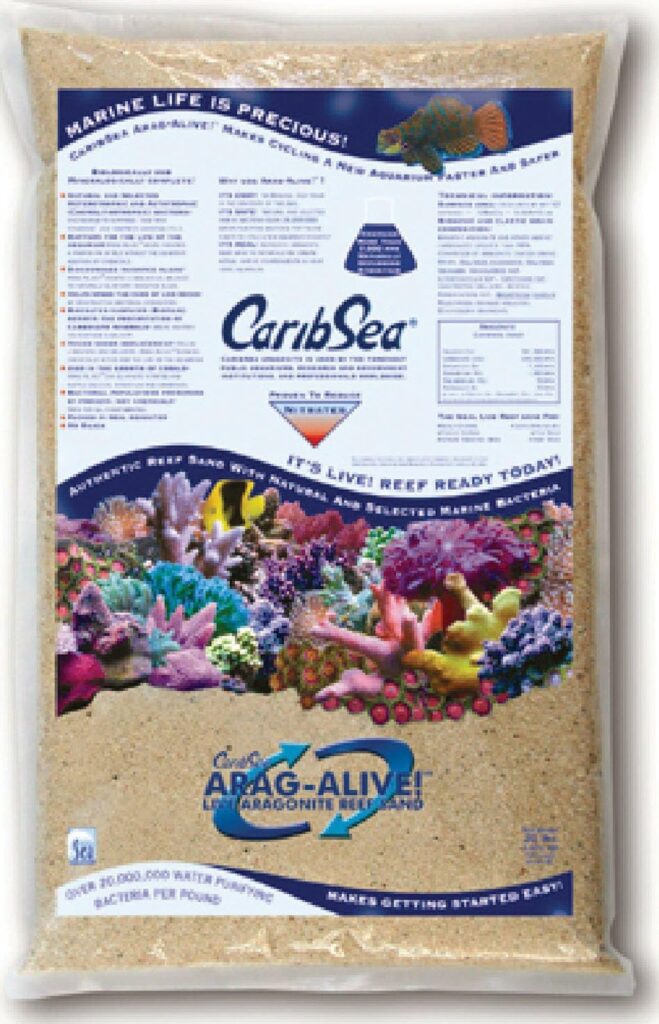
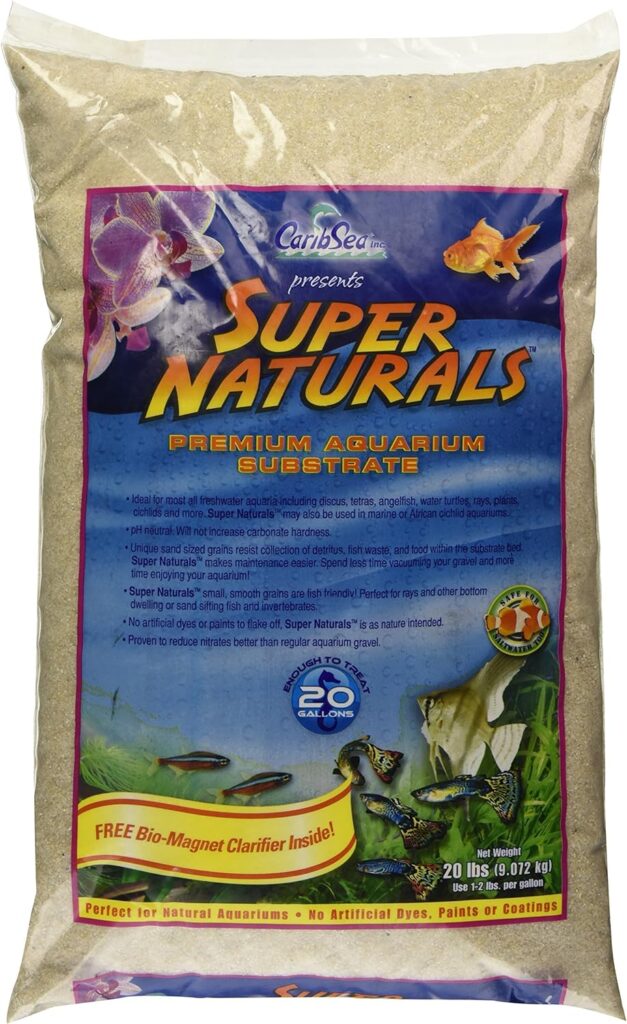
- Add live sand or substrate. CaribSea Arag-Alive Live Aragonite Reef Sand is a great choice for beneficial bacteria growth.
CaribSea Reef Live Sand: Be honest, a saltwater tank looks better with sand…
Mix the Saltwater
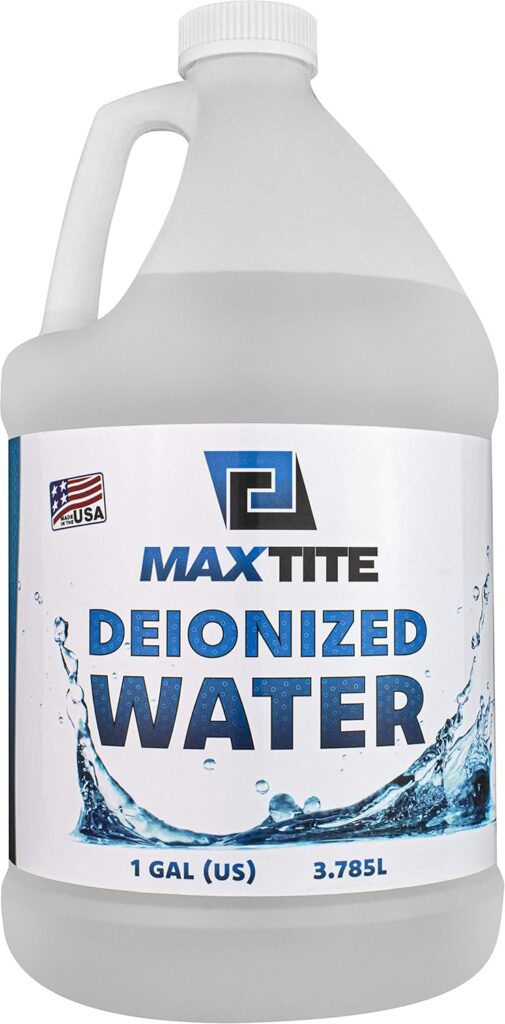
- Use RO/DI water to mix your salt mix.
- Check salinity with a refractometer; aim for 1.023-1.025 specific gravity.
Install Equipment
- Place and secure your heater, filter, and powerheads.
- Arrange live rock or biomedia to create hiding spots for fish.
Start Filtration
- Turn on your equipment and let the system run for 24-48 hours to stabilize before beginning the cycle.
Step 3: Choose Your Cycling Method
Option 1: Fishless Cycling (Recommended)
- Add ammonia manually using Dr. Tim’s Ammonium Chloride.
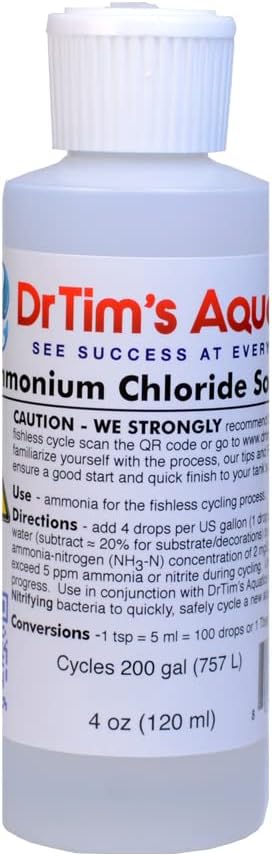
Dr. Tim’s Aquatics Fishless Cycle: A day by day breakdown
- Test daily for ammonia, nitrite, and nitrate levels using your API test kit.
- Maintain ammonia at 2-3 ppm until nitrites appear.
- Once nitrites drop to zero and nitrates are present, your tank is cycled.
Option 2: Using Live Rock or Sand
See how easy live rock and sand selection can be! Aquascaping a beginner …
- Add live rock or sand directly to the tank.
- Monitor water parameters; ammonia and nitrite will spike naturally.
- Once levels drop to zero, the cycle is complete.
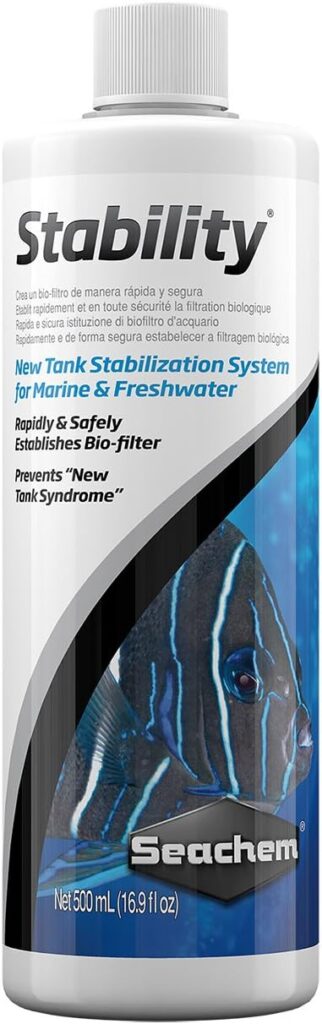
Option 3: Bacteria Supplements
Speed up cycling with beneficial bacteria supplements.
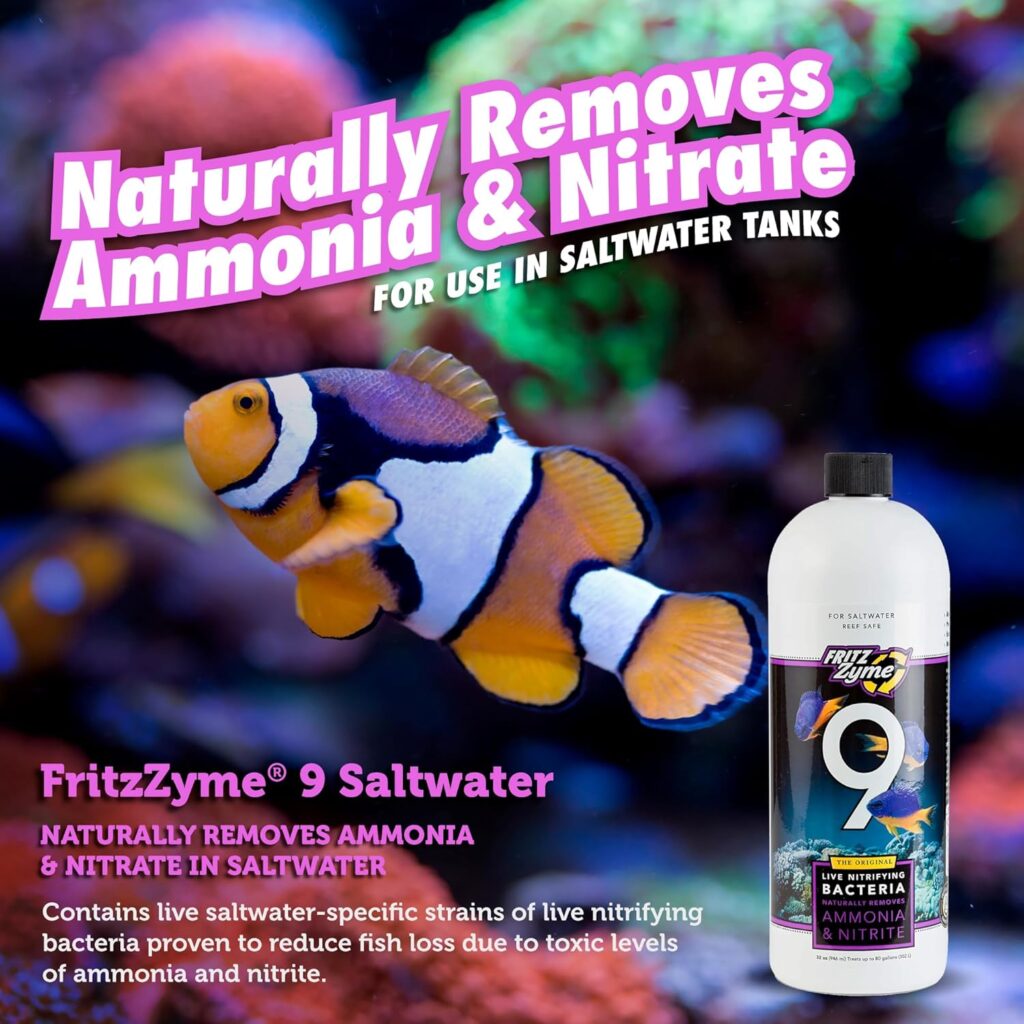
Recommended:
- Seachem Stability: ensures rapid cycling.
Seachem Prime and Stability EXPERT Shares Cycling Secrets!
- Brightwell Aquatics MicroBacter 7: Helps establish a balanced microbial environment.
Short on biological filtration for your reef tank? Brightwell Aquatics
Step 4: Monitor Cycling Progress
Timeline Expectations
- Week 1-2: Ammonia levels rise.
- Week 2-4: Nitrite levels spike.
- Week 4-6: Nitrite drops to zero, and nitrate builds up.
Use the API Saltwater Master Test Kit to track changes. Avoid adding livestock until ammonia and nitrite levels reach zero.
API Saltwater and Reef Master Test Kits: What YOU Need to Know
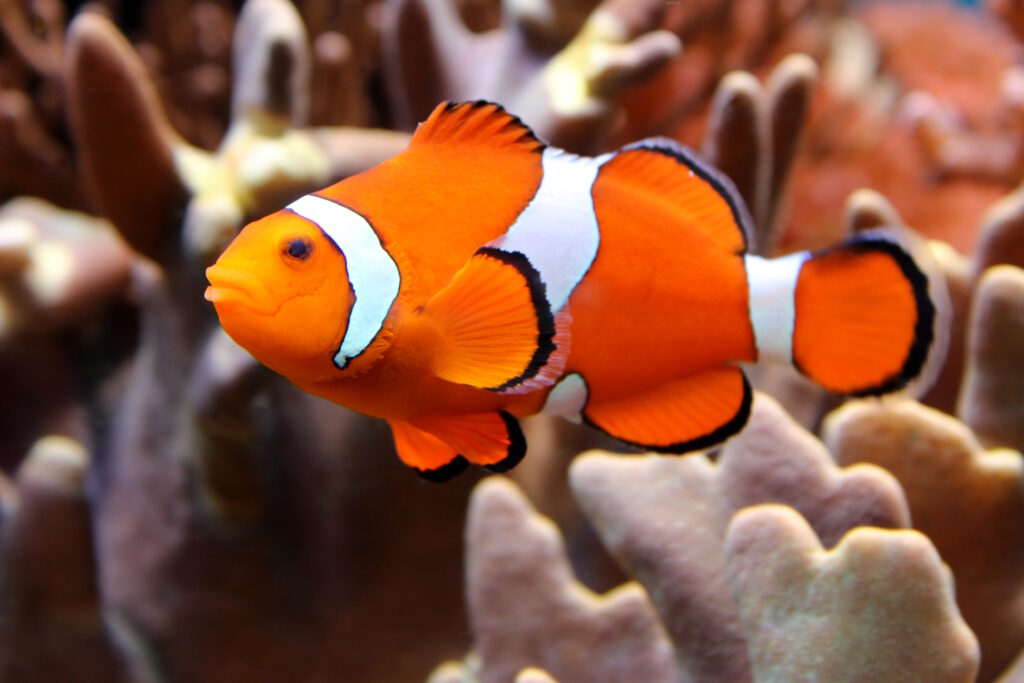
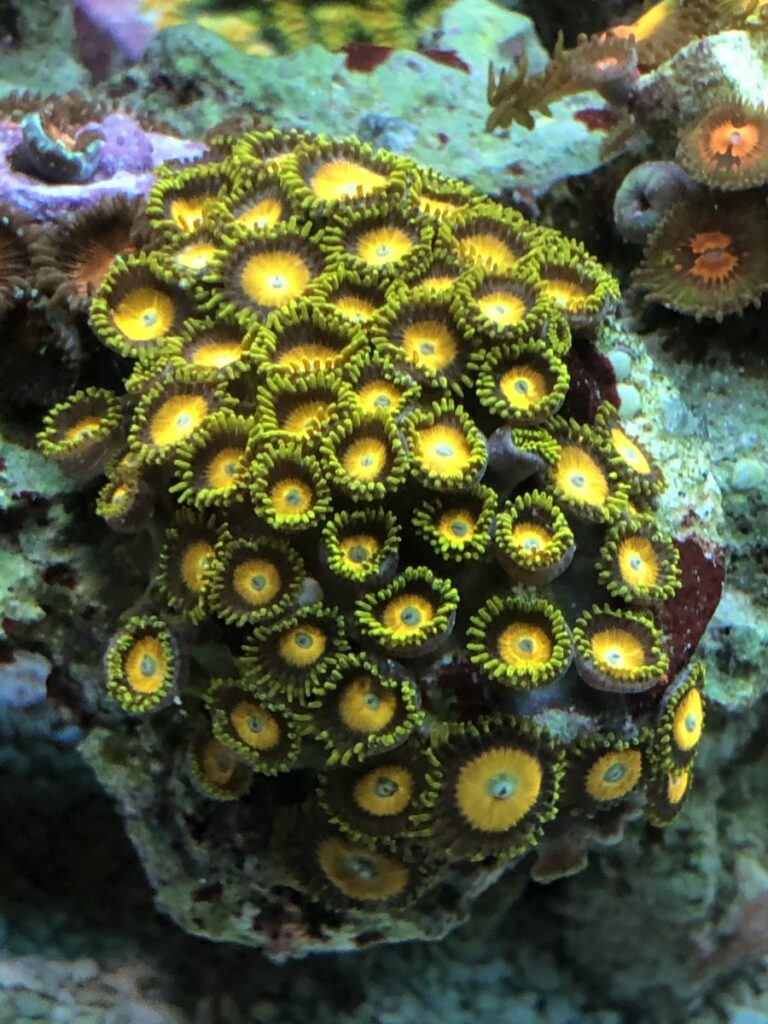
Step 5: Introducing Livestock
Once the cycle is complete, start with hardy marine life:
- Fish: Clownfish, Damselfish, Gobies.
Red Sea Reefer Build Part 6: Mixing Clownfish with Damsel
- Corals: Zoanthids, Mushrooms.
Top 10 Tips for Successfully Fragging Soft Corals, Zoanthids, Leathers, Mu…
Maintenance Tips for a Healthy Tank
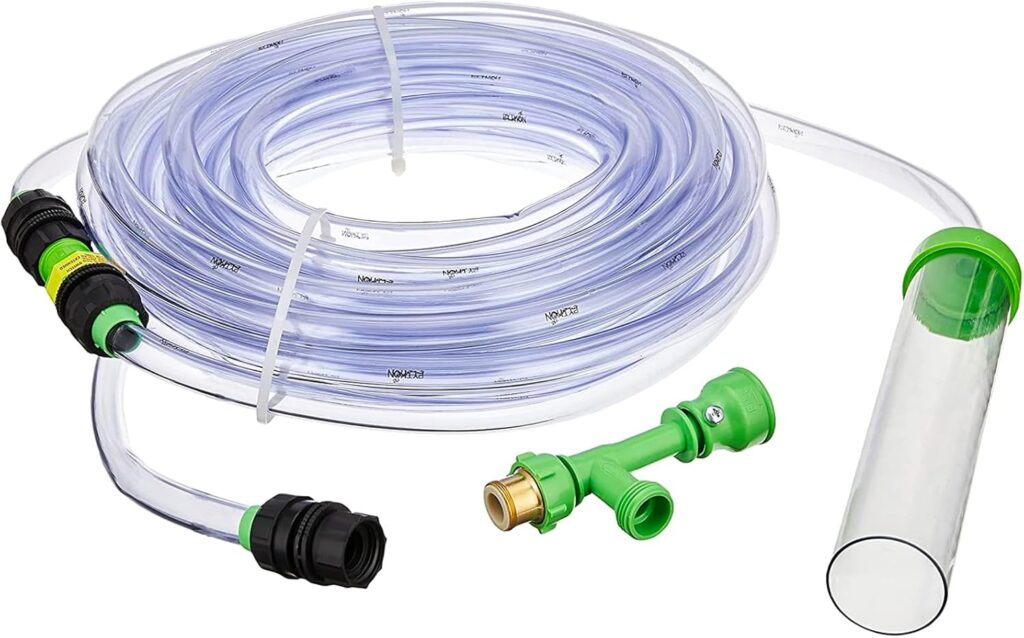
Regular Water Changes
Change 10-20% of water weekly using Python No Spill Clean and Fill.
Monitor Water Quality
Test weekly to ensure ammonia and nitrite stay at zero.
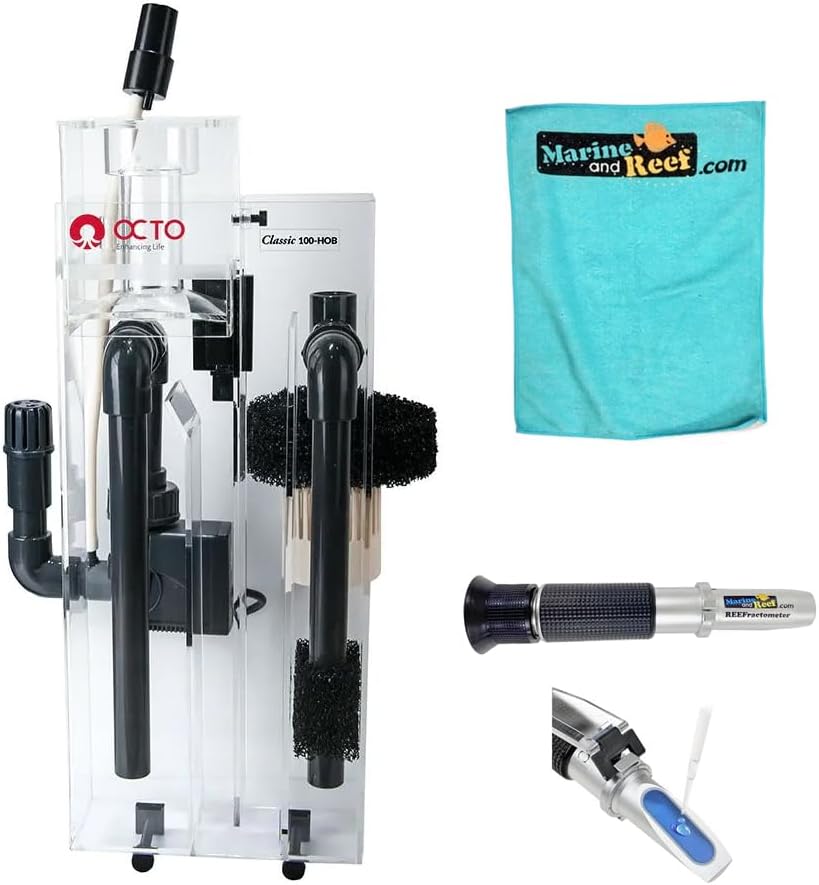
Use a Protein Skimmer
Removes organic waste before it breaks down. Top Pick: Reef Octopus Classic 100-HOB Protein Skimmer
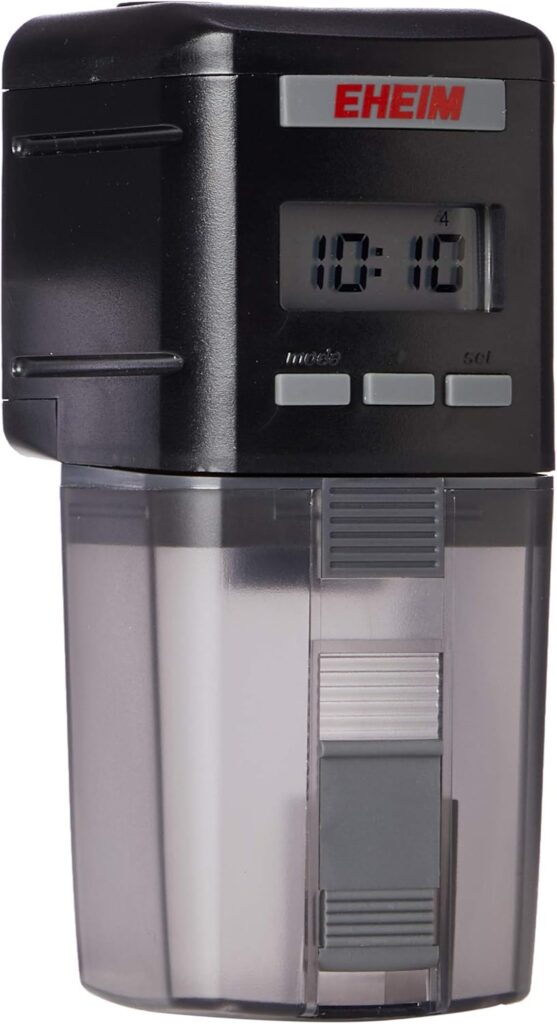
Feed Sparingly
Overfeeding leads to excess waste. Eheim Everyday Fish Feeder helps maintain consistency.
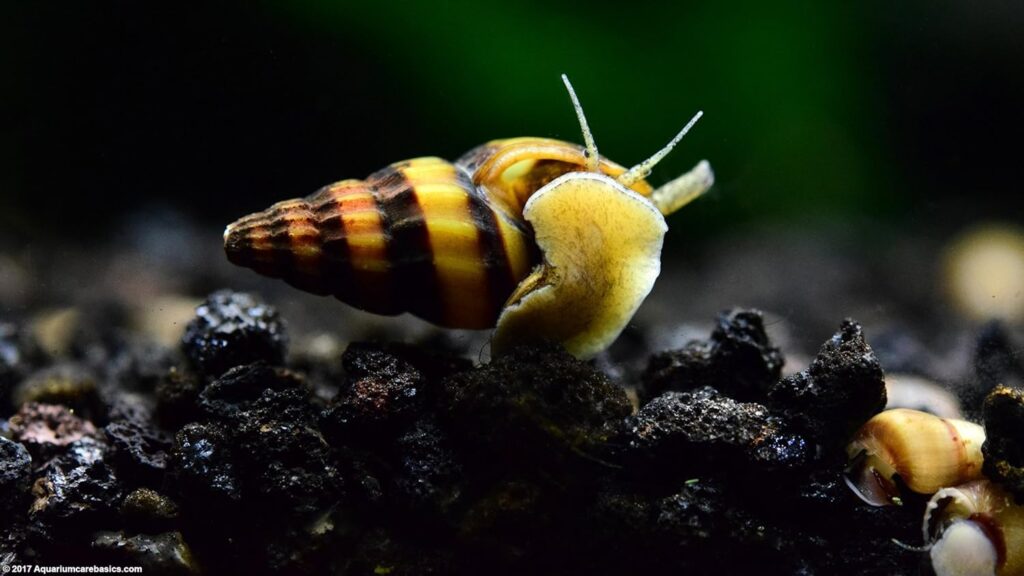
Add a Cleanup Crew
Snails, hermit crabs, and shrimp help control algae. Nassarius Snails are a great option.
Choosing Your CLEAN-UP Crew, Cleaner Shrimp, Naussaurius Snails, …
Troubleshooting Common Issues
- Persistent Ammonia/Nitrite: Double-check testing and add bacterial supplements.
- Algae Blooms: Reduce light exposure and use PhosBan to lower phosphate levels.
- Cloudy Water: Ensure your filter is functioning properly; it often clears up naturally.
Final Thoughts
Cycling your saltwater aquarium is an essential step in creating a thriving marine environment. By following this guide and using reliable products, you can establish a healthy ecosystem for your fish and corals.
Ready to build your dream aquarium? Click on the links above to shop for the best equipment and get started today!
Saltwater Aquarium Basics
REEF TANK SETUP: My humble opinion
Welcome to the reef tank equivalent of a five-star nightclub—where every guest (or component) plays its part to keep the party (your water) sparkling. Here’s your VIP list for a sump system that’ll make even Poseidon raise an impressed eyebrow:
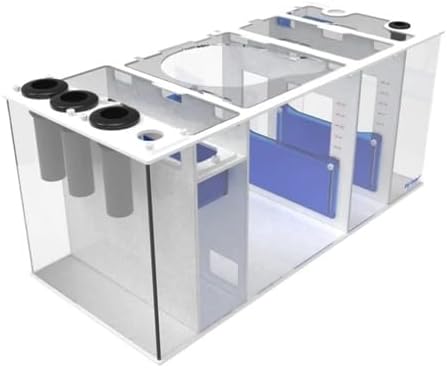
The Backstage Setup: Sump & Plumbing
- Sump Tank/Sump Kit:
Fiji Cube Refugium Sump Baffle Kit: Think of this as your aquarium’s exclusive backstage lounge. It’s segmented into chambers for mechanical, chemical, and biological filtration, so your tank’s waste doesn’t get past security.
DIY Sumps for Saltwater Aquariums: A Whole Lot Easier and Better Looking…
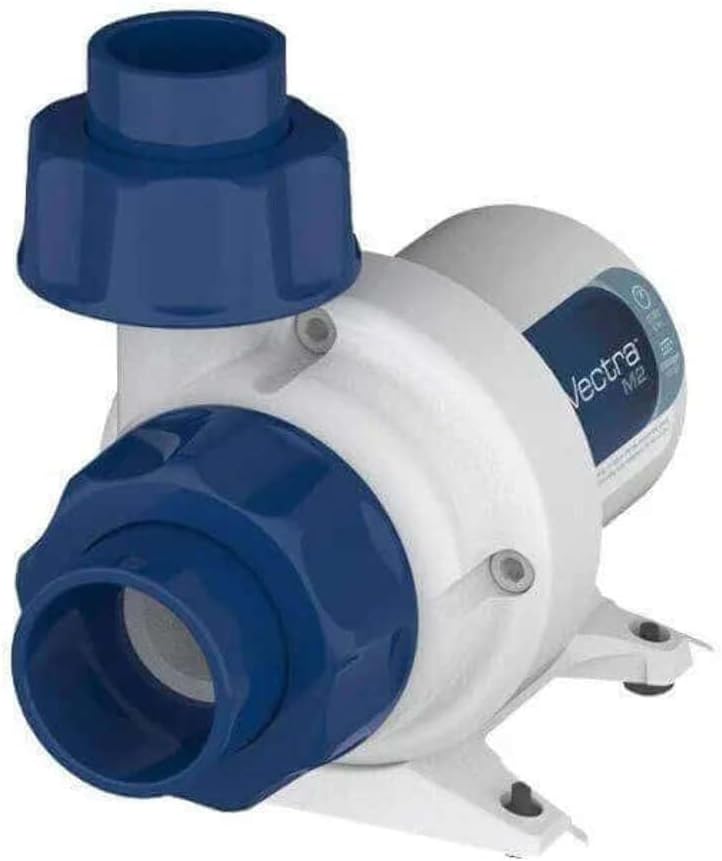
- Return Pump:
EcoTech Marine Vectra S2: The dependable roadie that makes sure water flows back into your main tank with the smooth precision of a well-rehearsed set.
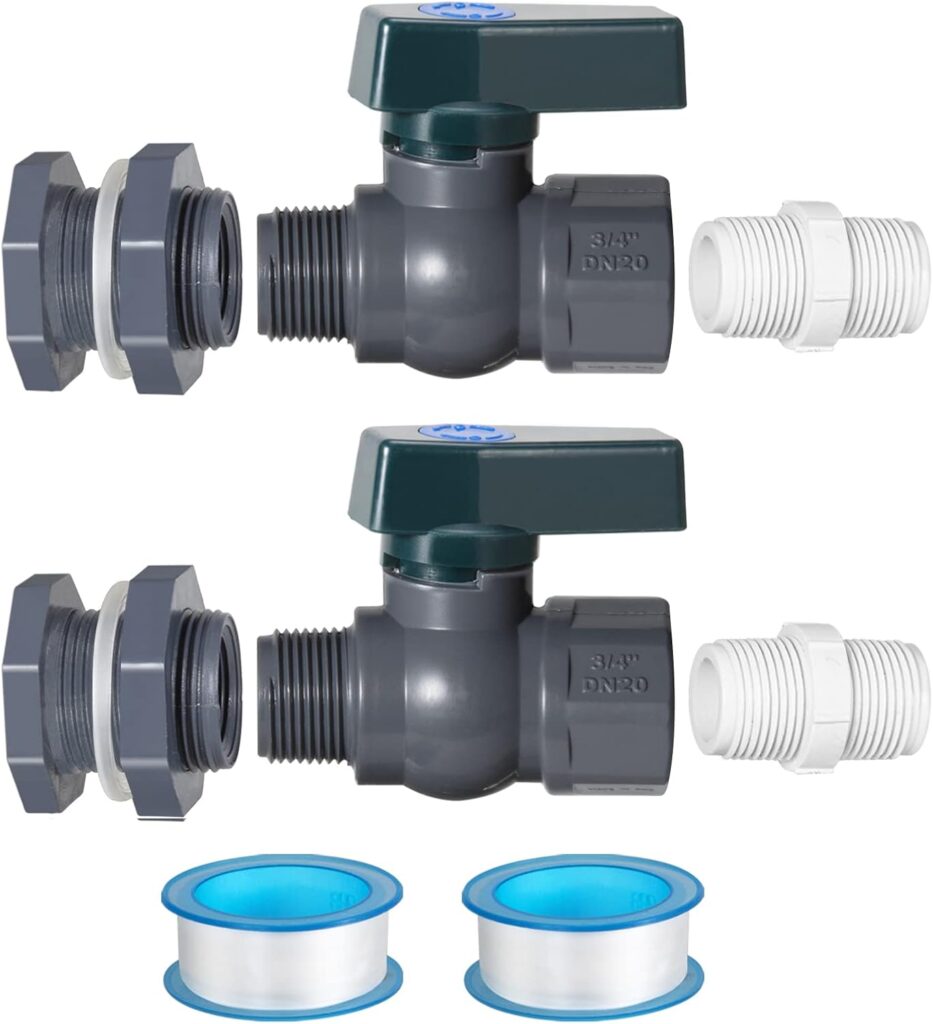
- Bulkhead Fittings & Plumbing:
Quality PVC tubing, bulkhead fittings, and check valves—the unsung heroes ensuring everything’s connected like a perfectly wired sound system.
Star Performers: Biological Filtration
- Live Rock:
CaribSea Live Rock: These are your tank’s rock stars, serving as natural bio-filters while giving your tank that authentic reef vibe. Aim for 1-2 lbs per gallon to create a VIP area for beneficial bacteria.
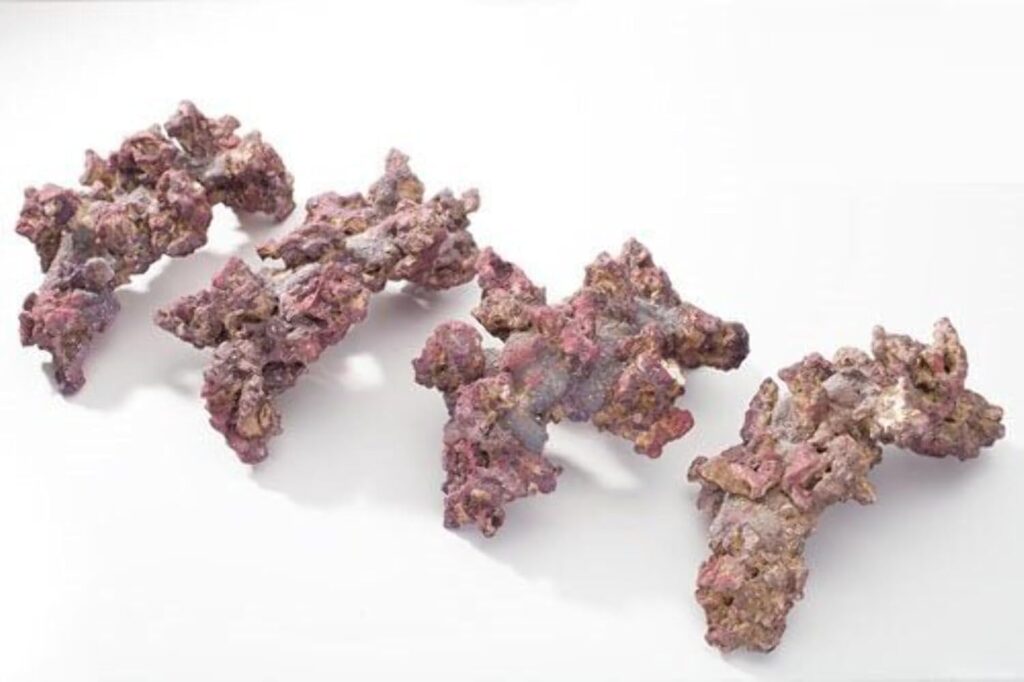
The Most VERSATILE Live Rock for Saltwater Tanks? CaribSea LifeRock…
- Optional Refugium:
Set aside a dedicated refugium space in your sump for some macroalgae (like Chaetomorpha),
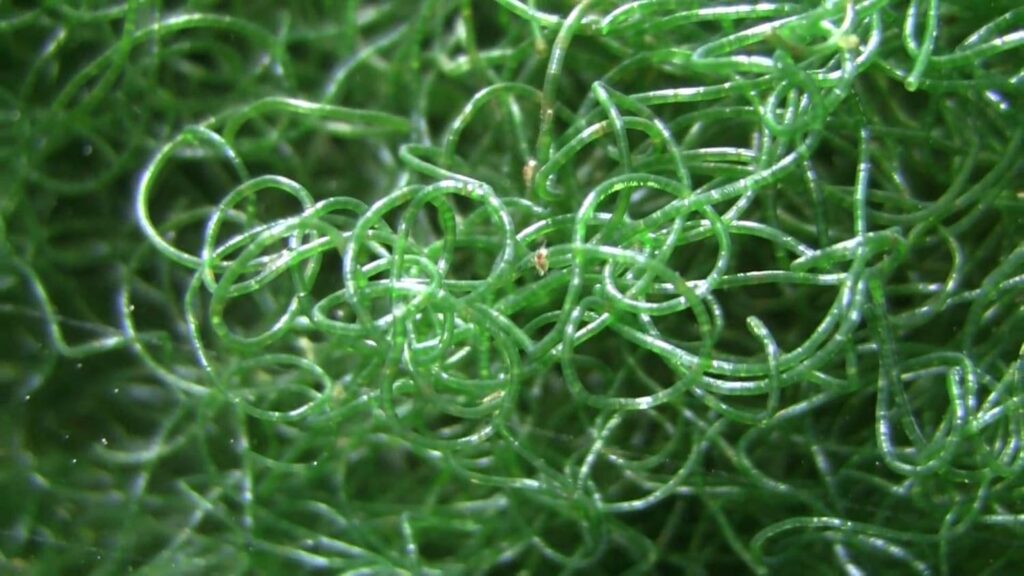
Best Refugium Macroalgae For Reef Tank…
- which acts as nature’s bouncer by mopping up excess nutrients and cultivating microfauna for an all-around balanced bash.
The Designated Driver: Protein Skimmer
- Protein Skimmer:
Reef Octopus Classic 110: This slick operator scoops out dissolved organics like a pro bartender, clearing the bar of spilled cocktails, keeping your water cleaner than a top-shelf mix.
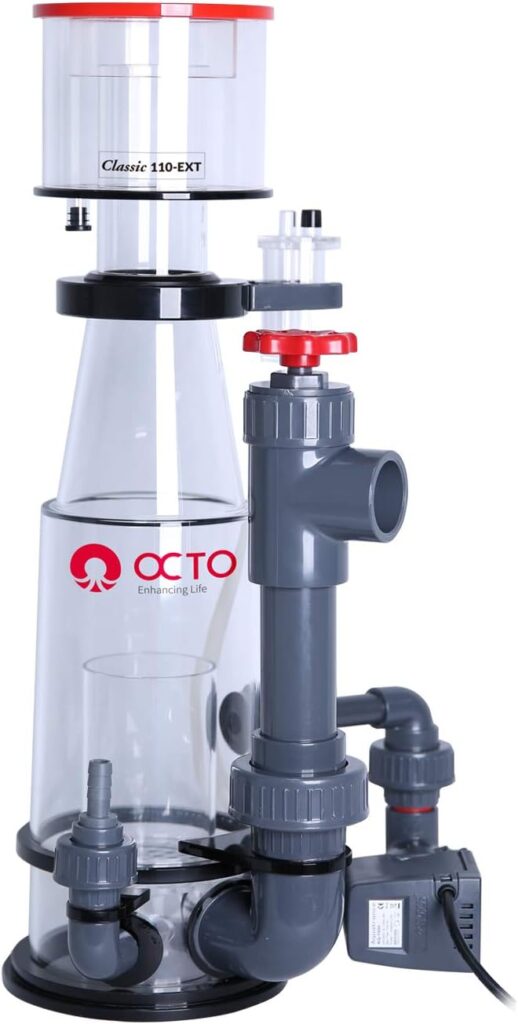
Reef Octopus Classic Protein Skimmers Review
The Cleanup Crew: Supplemental Mechanical & Chemical Filtration
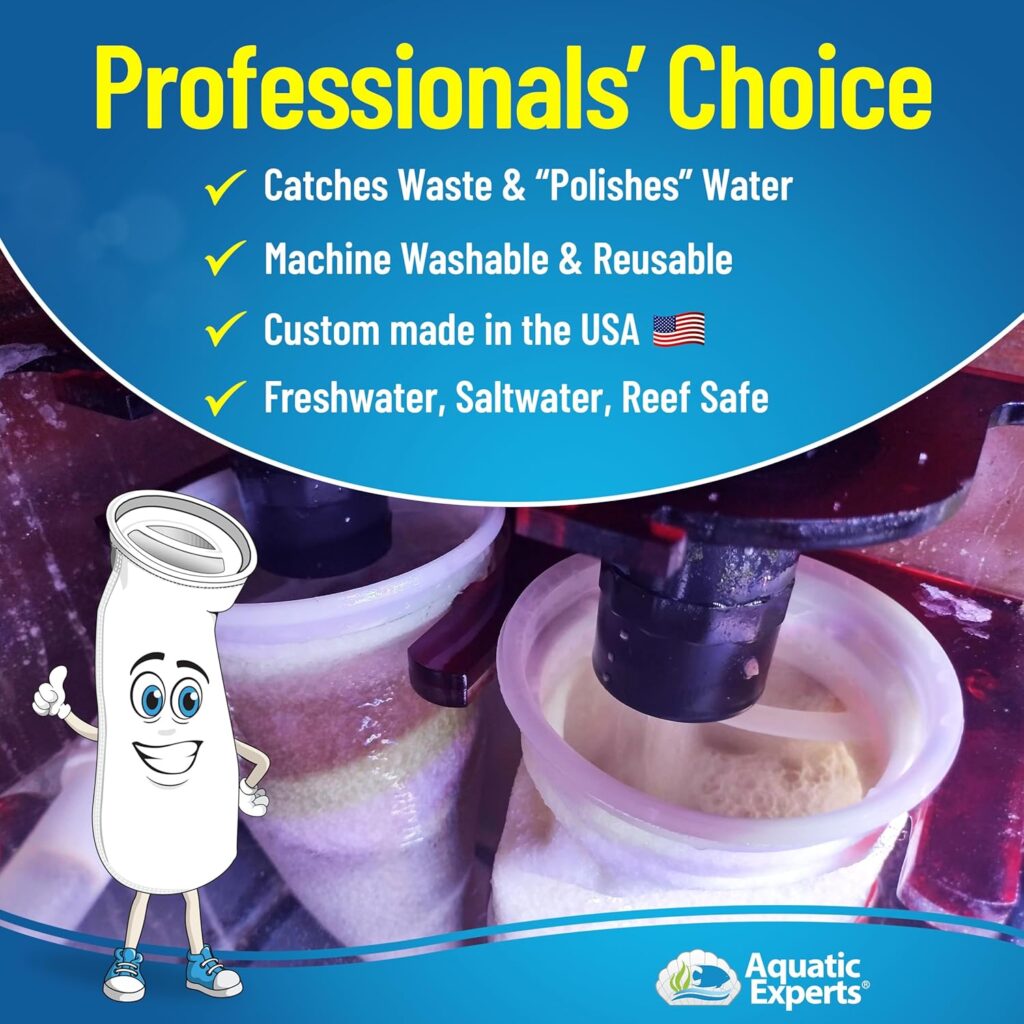
- Mechanical Media:
High-quality filter socks or foam pads. These catch debris before it crashes the party, ensuring only the best water makes it back to your tank.
- Chemical Media:
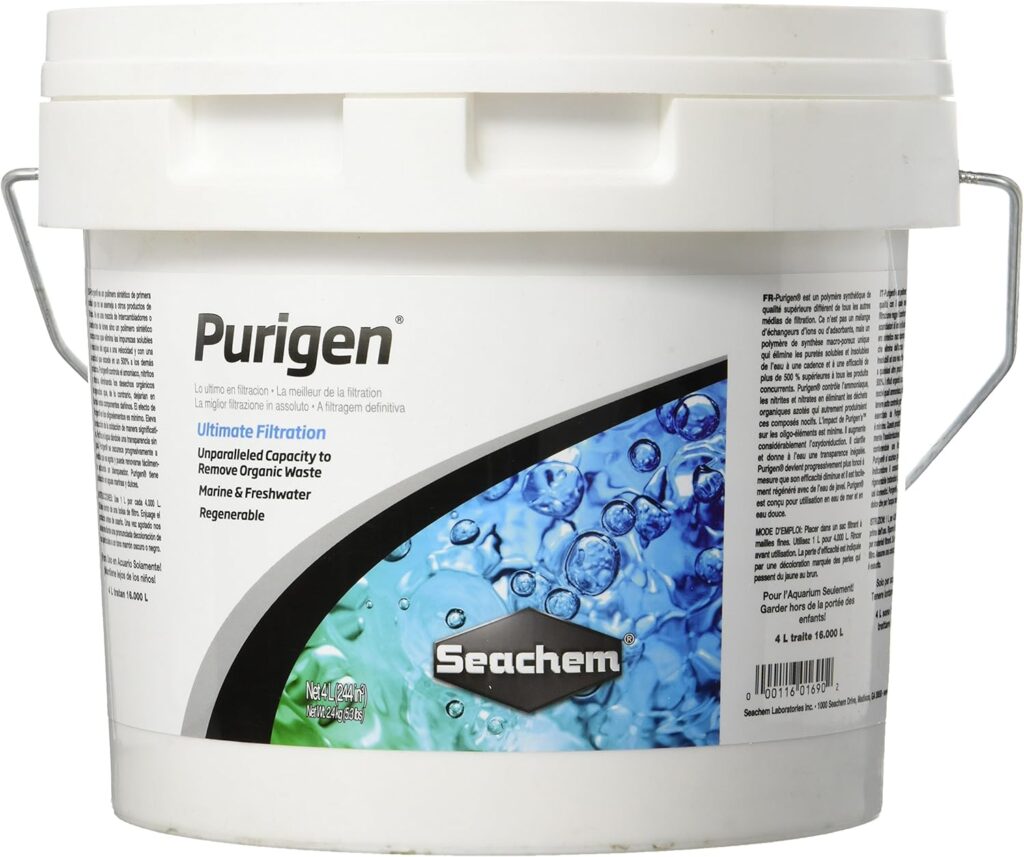
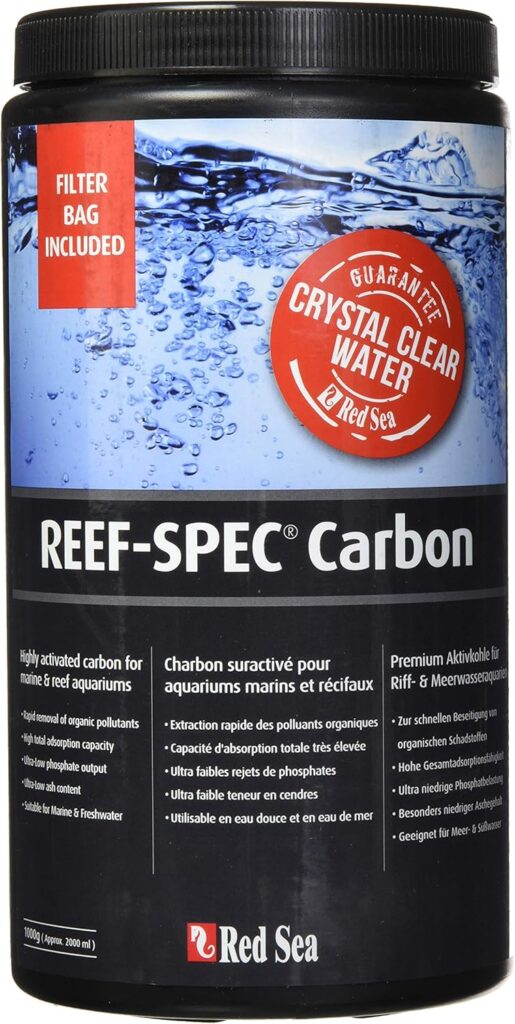
Seachem Purigen (or a dash of activated carbon like Red Sea Reef Spec Carbon): Consider this the “detox” corner that adsorbs unwanted impurities, leaving your water as clear as your best punchlines.
Put these components together, and you’ve got a sump system that’ll keep your reef tank’s water as pristine and punchy as a perfectly timed one-liner. Enjoy the show—and the crystal-clear water!
Happy Fish Keeping!!!
This work has an almost meditative quality to it. Each sentence feels carefully considered, yet they flow so naturally that it feels effortless. The insights you’ve shared seem to carry the weight of experience, and there’s a gentleness to the way you present them, as though you are offering the reader a piece of wisdom that you’ve carefully cultivated over time.
I want looking through and I think this website got some genuinely utilitarian stuff on it! .