Discover how to successfully breed angelfish in captivity with this step-by-step guide. Learn tank setup, conditioning, egg care, and fry raising. Get expert tips and recommended products!
My Journey into Breeding Angelfish (And How You Can Too!)
When I first set up my community tank, I never imagined I’d become obsessed with breeding angelfish. These elegant and mesmerizing fish quickly became my favorites, and before I knew it, I was completely invested in understanding their breeding process.
Over time, I learned that breeding angelfish requires patience, the right environment, and careful attention to detail. In this guide, I’ll share everything I’ve learned so you can confidently breed angelfish in your own home aquarium.
Understanding Angelfish: Biology & Habitat Needs
Angelfish (Pterophyllum scalare) are native to the Amazon Basin, where they thrive in slow-moving, plant-filled waters. Their tall, compressed bodies help them weave through dense vegetation, making a well-planted aquarium an ideal breeding ground.
To successfully breed them, you’ll need to replicate their natural environment as much as possible.
Key Tank Conditions for Breeding Angelfish:
- Tank Size: Minimum 20 gallons (bigger is better for stability)
- Temperature: 78-82°F (25-28°C)
- pH Level: 6.5-7.0 (slightly acidic)
- Water Hardness: Soft to moderately hard
- Filtration: Sponge filter or gentle HOB filter (cover the intake to protect fry)
- Lighting: Moderate, with a natural day-night cycle (12 hours light)
- Plants & Surfaces: Broad-leaved plants (Amazon swords), breeding slates, or flat surfaces for egg-laying
Need a high-quality aquarium setup?
How Coral Beauty Angelfish Are Made
Selecting a Breeding Pair
Choosing the right angelfish pair is one of the trickiest steps. Since sexing angelfish can be challenging, the best method is to let them pair naturally.
How to Identify Males vs. Females:
- Males often have a more pronounced forehead (nuchal hump) and pointed ventral fins.
- Females appear rounder, especially when full of eggs, and may have a slightly plumper belly.
Best Way to Form a Pair:
- Start with a group of 6-8 young angelfish.
- Observe their interactions over time.
- Once a pair forms naturally, move them to a separate breeding tank.
Setting Up the Breeding Tank
A dedicated breeding tank significantly increases your success rate. Here’s what works best:
- Tank Size: At least 20 gallons for the breeding pair.
- Water Flow: Keep it gentle—angelfish prefer calm waters for breeding.
- Breeding Surfaces: Provide vertical surfaces like broad-leaved plants or breeding slates.
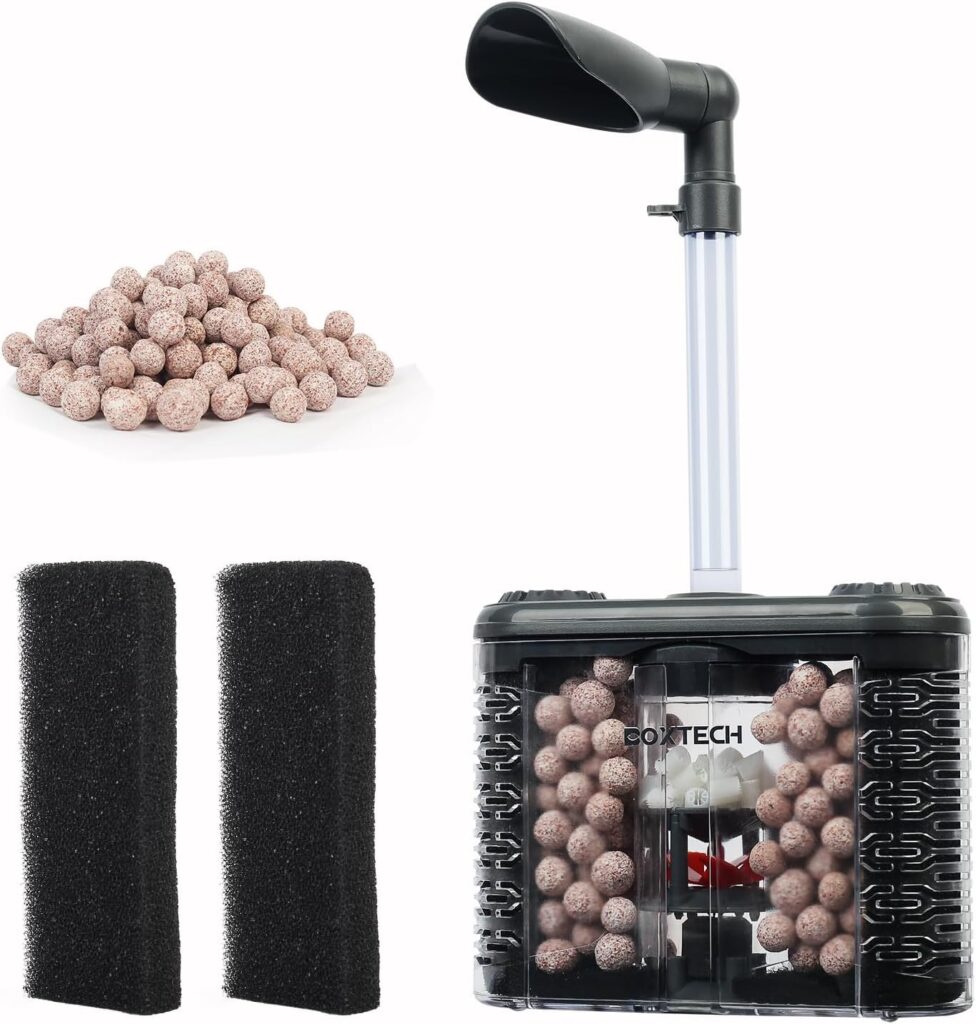
- Filtration: Use a sponge filter or a gentle HOB filter with an intake cover.
- Water Changes: 20-30% every other day to maintain pristine water quality.
👉 Grab a Highly-Rated Aquarium Sponge Filter on Amazon for optimal breeding conditions!
Fish Tank Sponge Filters: Everything You Need to Know!
Conditioning Your Breeding Pair
Before breeding, your angelfish need to be in prime condition. This means feeding them a high-protein diet and ensuring top-notch water quality.
Best Foods for Breeding Angelfish:
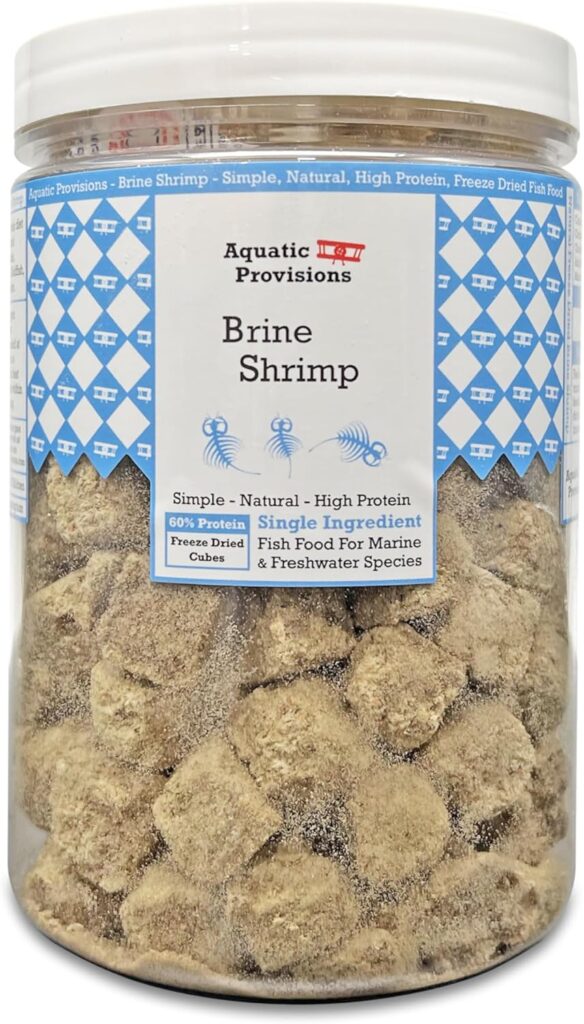
- Live or frozen bloodworms
- Brine shrimp
- Daphnia
Feed them small portions 3-4 times a day for about two weeks before moving them to the breeding tank.
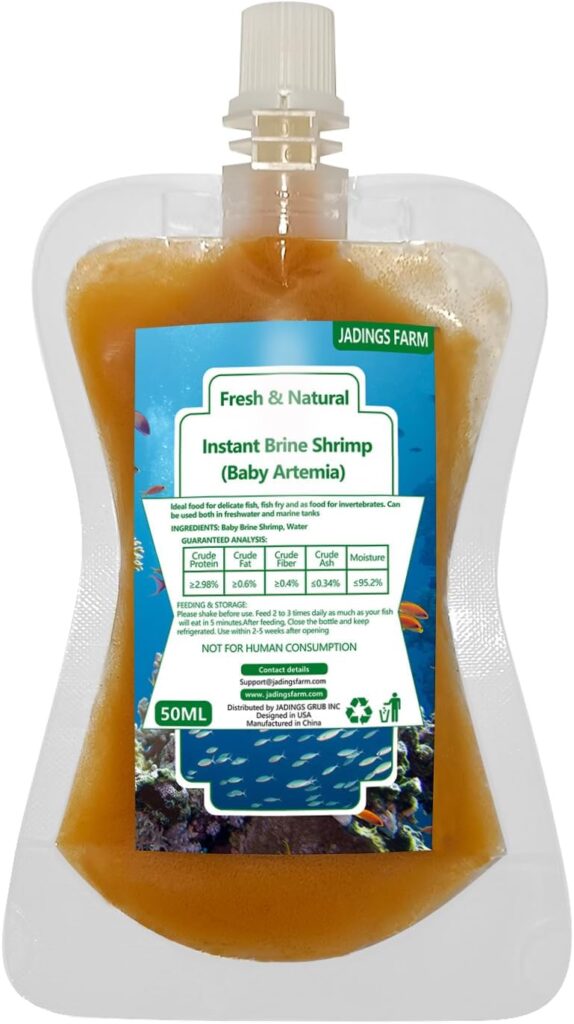
👉 Boost your angelfish’s health with this Premium Frozen Brine Shrimp on Amazon!
$20,000 Angel Fish Bred in Captivity!
The Spawning Process: Courtship & Egg Laying
Angelfish have a fascinating courtship ritual, which includes displaying fins, shimmying movements, and light nipping. When they’re ready, the female lays her eggs in neat rows on a chosen surface, and the male follows by fertilizing them.
Key Signs of Spawning:
- The pair cleans a specific surface (removing algae and debris).
- The female lays eggs in rows, followed by fertilization by the male.
- The eggs appear transparent or amber (white eggs are infertile or fungal-infected).
Both parents will fan the eggs to keep them oxygenated and protect them from fungus.
👉 Ensure proper egg care with this Aquarium Breeder Slate on Amazon for easy egg-laying!
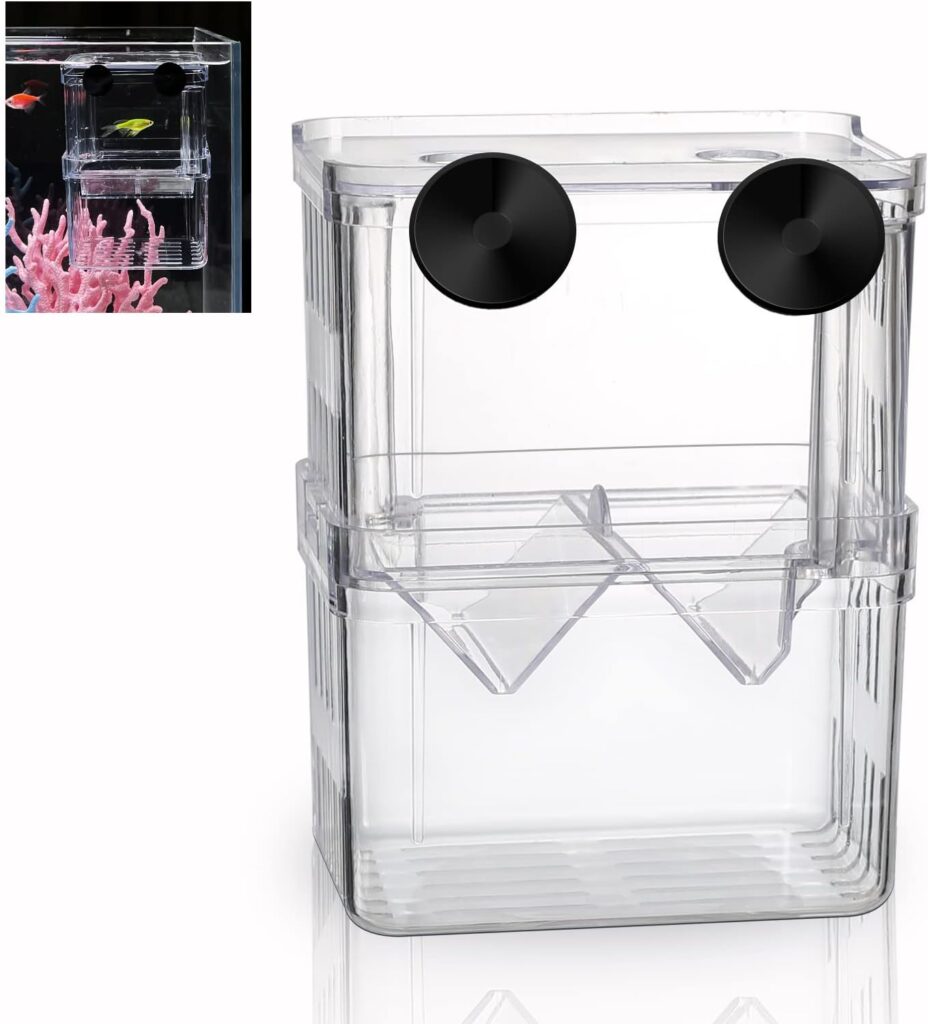
The Best Tool When Breeding Fish – Breeder Boxes!
Preventing Egg-Eating & Protecting the Eggs
It’s common for first-time angelfish parents to eat their eggs. If this happens, you have two options:
- Leave the eggs with the parents: Reduce stress by covering the tank and minimizing disturbances.
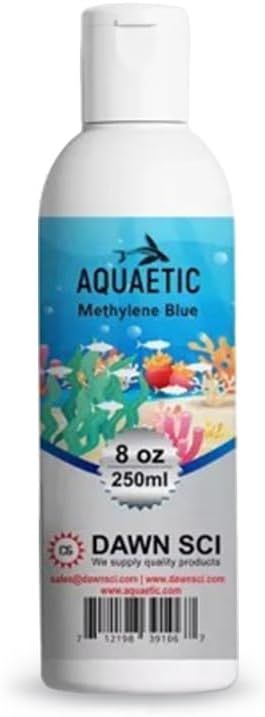
- Artificially hatch the eggs: Remove them and place them in a separate container with a mild antifungal treatment (e.g., methylene blue).
👉 Prevent fungus growth with this Safe Aquarium Methylene Blue Solution on Amazon!
Hatching & Raising Angelfish Fry
Eggs typically hatch within 48–72 hours. The fry stay attached to the spawning surface as “wrigglers” for a few days, absorbing their yolk sacs.
Caring for Free-Swimming Fry:
- Start feeding infusoria or specialized fry food.
- Gradually introduce newly hatched brine shrimp as they grow.
- Perform small daily water changes (10–15%) to maintain water quality.
👉 Need fry food? Try this Best-Rated Angelfish Fry Starter Food on Amazon!
Managing Parental Aggression & Growing Out the Fry
Sometimes, angelfish parents may become aggressive toward each other after spawning. If this happens, use a tank divider or separate one parent to ensure the fry’s safety.
At 2-3 weeks old, transfer the fry to a larger grow-out tank, continuing frequent small feedings and careful water changes.
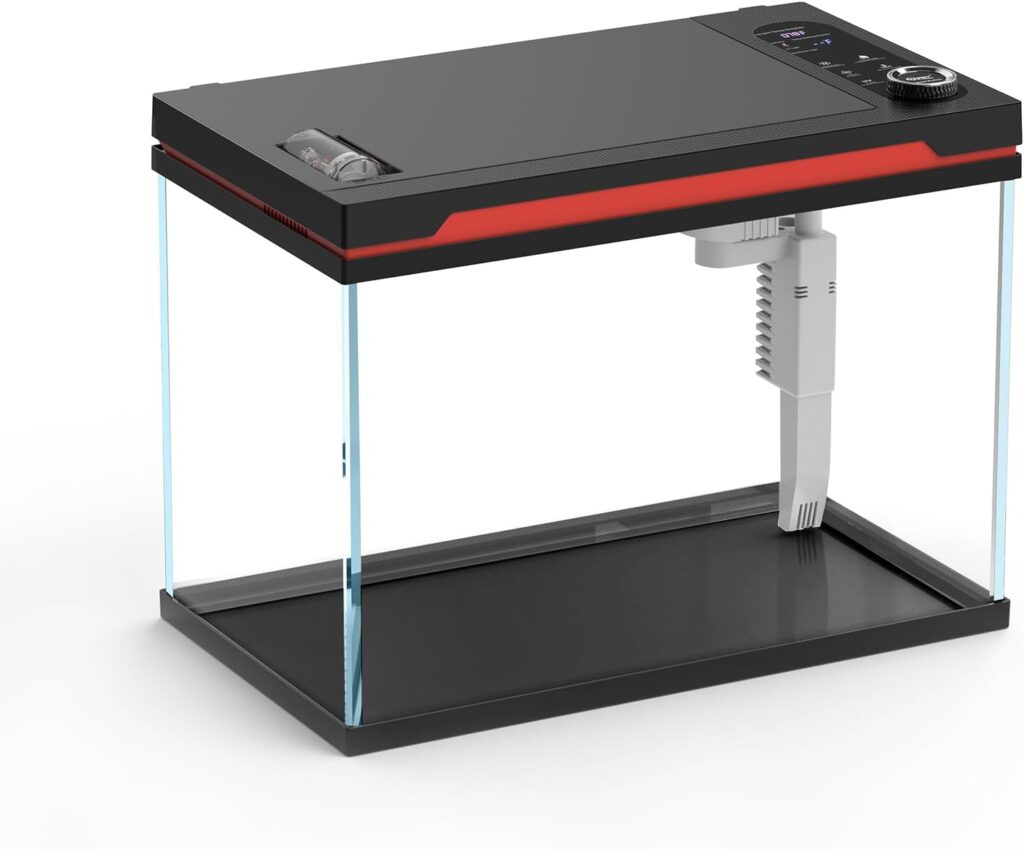
👉 Upgrade your fry’s space with this Spacious Grow-Out Tank on Amazon!
Hygger Smart Aquarium Starter Kit HG146
The Joy of Breeding Angelfish
Breeding angelfish is an incredibly rewarding experience. Watching your carefully conditioned pair successfully raise their young is truly magical. Plus, captive breeding helps reduce demand for wild-caught angelfish, benefiting conservation efforts.
If you’re patient, observant, and willing to experiment, you’ll soon enjoy the thrill of seeing angelfish eggs hatch in your own tank!
Ready to Start Breeding Angelfish?
Get the best aquarium equipment and supplies to maximize your success! Check out these top-rated products on Amazon to ensure your angelfish thrive:
- Best Angelfish Breeding Tank
- High-Protein Angelfish Diet
- Aquarium Breeding Slate
- Brine Shrimp Hatchery Kit
- Sponge Filter for Fry Safety
Happy breeding, and enjoy the journey!
I am truly thankful to the owner of this web site who has shared this fantastic piece of writing at at this place.
Good post! We will be linking to this particularly great post on our site. Keep up the great writing
Looking forward to your next post. Keep up the good work!
I really like reading through a post that can make men and women think. Also, thank you for allowing me to comment!
I just wanted to take a moment to say how much I appreciate your blog posts. They’re always well-written, informative, and keep me coming back for more. Keep up the great work!
You’re so awesome! I don’t believe I have read a single thing like that before. So great to find someone with some original thoughts on this topic. Really.. thank you for starting this up. This website is something that is needed on the internet, someone with a little originality!
Our local SEO service offers a range of features designed to give you a competitive edge
I truly respect your way of writing a blog. I’ve bookmarked it and will
Thanks for the detailed breakdown — it saved me a lot of time.
This post is a great starting point for anyone new to the subject.
There is definately a lot to find out about this subject. I like all the points you made
This really cleared up confusion I had. Much appreciated!
I am truly thankful to the owner of this web site who has shared this fantastic piece of writing at at this place.
Amazing breakdown — the numbered steps made it easy to follow.
Solid post — bookmarked and shared. Keep producing content like this!
I truly appreciate your technique of writing a blog. I added it to my bookmark site list and will
Your writing style is engaging and easy to follow. Keep it up!
Your writing style is absolutely fantastic! This could have easily been a dry, boring topic, but you made it engaging and even fun to read. I love how you injected personality into the article without sacrificing professionalism or accuracy. The way you anticipated reader questions and addressed them throughout the piece shows a real understanding of your audience. I’m definitely following your blog now because if this is the quality of content you produce, I don’t want to miss any future posts!